Squarespace Invoicing: Your How-to Guide for Client Invoices
If you've been searching for a way to send invoices to your clients through your Squarespace website without incurring extra costs, you’re in the right place. In this article, I’ll show you how to leverage Squarespace's built-in invoicing feature to streamline your billing process.
I’ve streamlined this process in the step-by-step guide below. For full details and to follow along, watch the companion video on my YouTube channel!
Why Use Squarespace Invoicing?
Squarespace has introduced a new invoicing feature that’s available for all its plans, including personal ones, at no extra cost to you. This is an incredible advantage as it allows you to create simple and effective invoices without leaving your Squarespace platform. Generally, features like this come as paid add-ons, so this is a big plus for small business owners and freelancers alike.
Step-by-Step Guide to Creating Invoices on Squarespace
Step 1: Open Squarespace Invoicing
Once logged into your website, navigate to the main menu on the left-hand side of the window and click on “Invoicing.”

Step 2: The Invoicing Dashboard
After clicking “Invoicing,” you’ll be directed to a dashboard where you can manage your invoices.
On the dashboard, you can track invoices paid and outstanding in total dollar amount. Below that area, you can find a list of your invoices and their status.
You’ll see options such as “Create Invoice,” “Learn More,” and other tools for handling your billing. Note that there are several places on this dashboard where you can create your invoice, and it can look a little confusing at first, but rest assured that there is no wrong answer. Choose the spot you like best!

Step 3: Create an Invoice
Once you’ve clicked “Create” the invoice panel will open.
Begin by selecting an existing client or adding a new one. If you're testing, you can even add yourself as a test client.
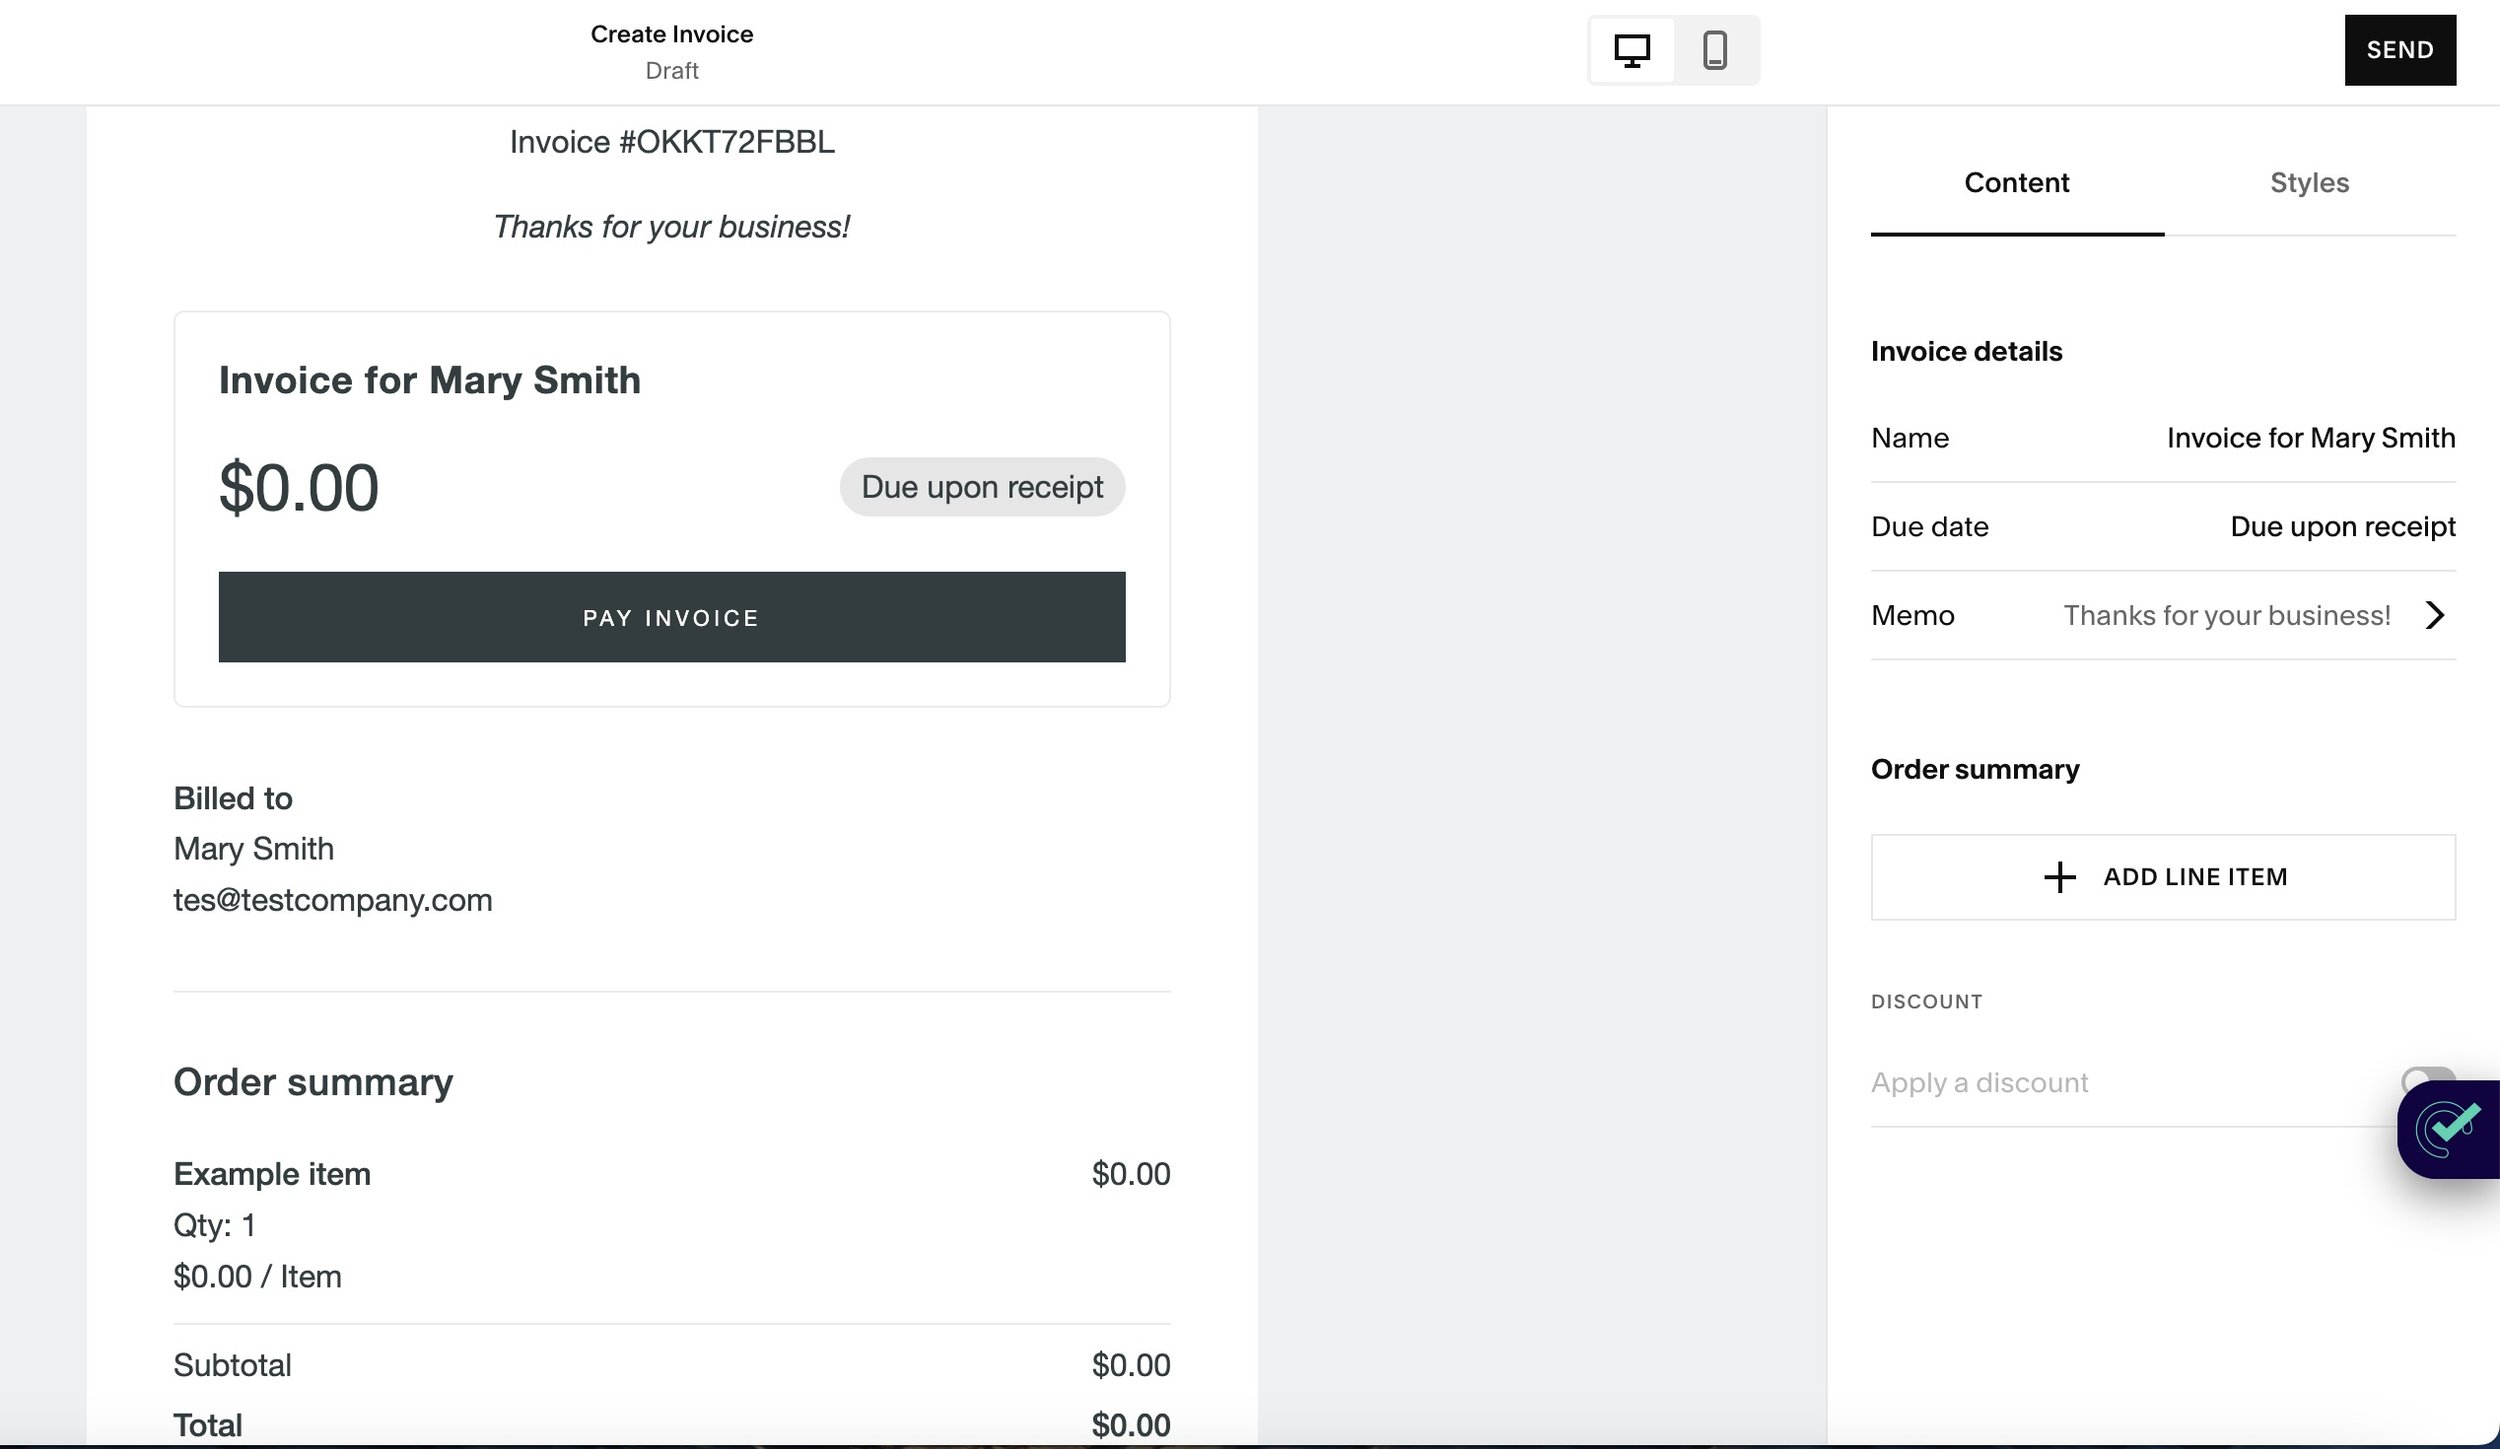
Continue to the invoice editor, which will show you the draft of the invoice on the left side of the window and the settings/editing panel on the right side of the window. The items that appear on your invoice and can be edited include:
Invoice Number and Memo: Auto-generated invoice number and space to add a personal message. Customize this memo according to your preference.
Order Summary: Add a line item detailing the service or product. For example, if you’re offering custom Squarespace website services, specify the item, quantity, and price.
Due Date: Define your payment terms. You can select a specified date or choose terms like "Due upon receipt."
Discounts: Apply any discounts either as a percentage or a fixed amount.
Step 4: Customizing the Invoice Style
You can tweak the invoice style using the global email styles editor. Adjust the background and fonts to match your site’s theme. If your website includes a logo, it will be automatically pulled into the invoice.
Note: You cannot adjust the layout or order of the elements on the invoice.

Step 5: Finalizing and Sending the Invoice
Once you’re satisfied with the invoice, you can either send it immediately or save it as a draft. (To save as a draft, simply hit the ‘Back’ arrow in the top left corner to return to the dashboard.) This provides flexibility if you’re preparing multiple invoices for end-of-month billing or if you want to create multiple invoices for a client all at once and send them each at a later date.
The list of invoices and their status will appear on the main Invoicing Dashboard.

Draft invoices can be edited or previewed in desktop and mobile views before sending.
When ready to send, you can do so from the list in the dashboard. It is not necessary to open the invoice to send it.
Click the three dots to the right of the amount field to access editing, preview, send, or delete options.
Note: You cannot schedule invoices to be sent in advance. You must go into the dashboard and manually send the invoice.
Collecting Payments from Squarespace Invoices
The whole point in sending invoices is to get paid, of course! And you won’t get paid if you don’t follow this critical step!
To ensure smooth transactions, go to Selling >> Payments and connect your payment processor to your Squarespace account. This allows your clients to pay directly from the invoice they receive.
Note that without this connection, the payment function won’t work. Whether you’re using Squarespace Payments, Stripe, Paypal, etc., doesn’t matter.
Summary
The Squarespace invoicing feature is a straightforward, no-frills, effective solution for small businesses that don’t require more advanced billing software and reporting. While it lacks features like payment plans, scheduling, and advanced styling options, it’s a robust addition for simple billing needs. It's free, integrates seamlessly with your existing Squarespace site, and simplifies the billing process for both you and your clients.
It’s perfect for the small business or freelancer who’s just starting and needs a simple, budget-friendly way to start collecting their first payments!
Did you find this guide helpful? If you have any questions or need further assistance, feel free to leave a comment. If you enjoyed this content and want to see more, please subscribe to my newsletter for updates on new posts, resources, and insider tips.
You may also find these articles helpful: